Hey there tech lovers, listen up! If you're diving into the world of Raspberry Pi and wondering how to set up remote IO for free, you've come to the right place. Raspberry Pi remote IO setup free is not only possible but also super rewarding. Imagine controlling your home devices, automating tasks, or even setting up a remote weather station without breaking the bank. This guide will walk you through everything you need to know to get started with Raspberry Pi remote IO for absolutely no cost. So, let's jump right in and make some magic happen!
Now, before we dive deep into the nitty-gritty of Raspberry Pi remote IO setup free, let me tell you why this is such a big deal. In today's tech-savvy world, having the ability to control your projects remotely can open doors to endless possibilities. Whether you're a hobbyist, a student, or a professional, setting up remote IO on Raspberry Pi gives you the power to innovate without limits. Plus, doing it for free means you can allocate your budget to other cool components or gadgets.
But wait, there's more! This guide isn't just about theory. We're going to break it down step by step, making sure you understand every part of the process. By the time you finish reading, you'll be ready to roll up your sleeves and get your hands dirty with some awesome Raspberry Pi projects. So, let's not waste any more time and get started on this exciting journey!
Read also:Donovan Lee Freeman The Rising Star In The Spotlight
What Exactly is Raspberry Pi Remote IO?
Alright, let's break it down. Raspberry Pi remote IO is essentially the process of controlling input and output devices connected to your Raspberry Pi from a remote location. Think of it as giving your Raspberry Pi the ability to communicate with the outside world without being physically present. You can control things like lights, motors, sensors, and more from anywhere in the world. Cool, right?
Why Go for Free Setup?
Setting up Raspberry Pi remote IO for free is all about maximizing your resources without spending a dime. There are tons of open-source tools and software available that allow you to achieve this without having to purchase expensive licenses or subscriptions. Plus, learning how to do it for free means you're gaining valuable skills that you can apply to other projects in the future.
Understanding the Basics of Raspberry Pi
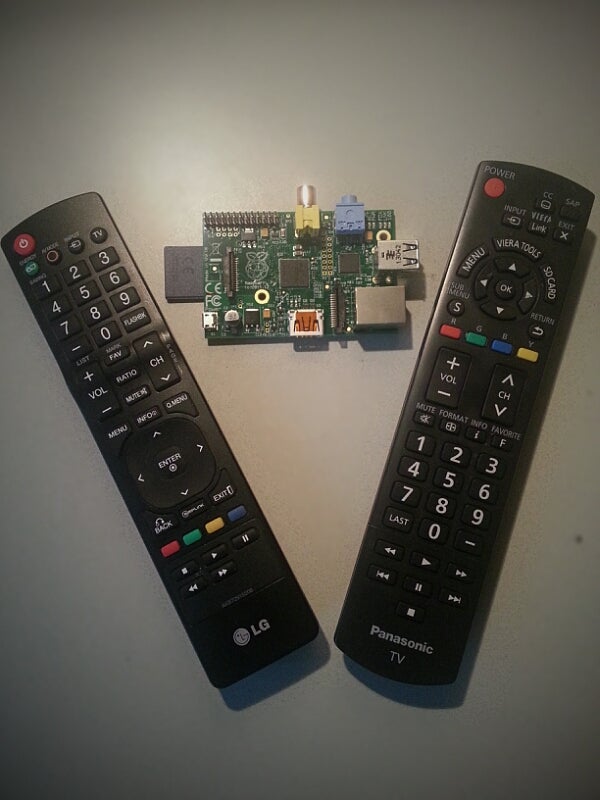
Before we jump into the setup process, it's essential to have a basic understanding of Raspberry Pi itself. Raspberry Pi is a small, affordable computer that you can use to learn programming and create amazing projects. It's incredibly versatile and can be used for anything from home automation to robotics. If you're new to Raspberry Pi, don't worry. This guide will walk you through everything you need to know to get started with remote IO.
Key Features of Raspberry Pi
- Compact size
- Low power consumption
- Multiple GPIO pins for connecting devices
- Support for various operating systems
- Large community and tons of resources
Setting Up Your Raspberry Pi for Remote IO
Now that you have a basic understanding of what Raspberry Pi is, let's talk about how to set it up for remote IO. The process involves a few key steps, and we'll go through each one in detail. By the end of this section, you'll have your Raspberry Pi ready to connect with the world.
Step 1: Install an Operating System
First things first, you need to install an operating system on your Raspberry Pi. The most popular choice is Raspberry Pi OS, which is free and easy to install. You can download it from the official Raspberry Pi website and follow the installation instructions. Make sure you choose the version that suits your needs, whether it's the full desktop version or the lightweight version.
Step 2: Configure Your Raspberry Pi
Once you have the operating system installed, it's time to configure your Raspberry Pi. This involves setting up Wi-Fi, enabling SSH, and configuring the GPIO pins. Don't worry if you're not familiar with these terms. We'll explain everything you need to know in simple terms.
Read also:Dewayne Warren The Rising Star In The Spotlight
Choosing the Right Tools and Software
When it comes to setting up Raspberry Pi remote IO for free, choosing the right tools and software is crucial. There are several options available, each with its own set of features and capabilities. Let's take a look at some of the most popular choices.
Option 1: MQTT
MQTT is a lightweight messaging protocol that's perfect for IoT projects. It allows your Raspberry Pi to communicate with other devices over the internet. The best part? It's free and easy to set up. You can use Mosquitto as the MQTT broker and any MQTT client library to send and receive messages.
Option 2: WebSockets
WebSockets provide a full-duplex communication channel between your Raspberry Pi and a web browser. This means you can control your Raspberry Pi remotely using a simple web interface. There are several open-source libraries available that make it easy to implement WebSockets in your projects.
Connecting Devices to Your Raspberry Pi
Now that your Raspberry Pi is set up and ready to go, it's time to connect some devices. This is where the fun really begins! You can connect a wide range of devices to your Raspberry Pi, from simple LEDs to complex sensors. Let's explore some of the most popular options.
Connecting LEDs
Connecting LEDs to your Raspberry Pi is a great way to get started with remote IO. You'll need a breadboard, some jumper wires, and a few resistors. Once everything is connected, you can control the LEDs remotely using your chosen software.
Connecting Sensors
Sensors are another popular choice for Raspberry Pi projects. You can connect temperature sensors, humidity sensors, motion sensors, and more. Each sensor will require a slightly different setup, but the basic principles remain the same. Make sure you follow the manufacturer's instructions carefully to avoid any issues.
Securing Your Raspberry Pi Remote IO Setup
Security is a crucial aspect of any remote IO setup. You want to make sure that your Raspberry Pi is protected from unauthorized access and potential threats. Here are a few tips to help you secure your setup:
- Use strong passwords
- Enable firewalls
- Keep your software up to date
- Use encryption for communication
Testing and Troubleshooting
Once your Raspberry Pi remote IO setup is complete, it's time to test everything out. Start by testing each component individually to make sure it's working as expected. If you encounter any issues, don't panic. Troubleshooting is a normal part of the process. Here are a few common issues and how to fix them:
- Connection problems: Check your Wi-Fi settings and make sure your Raspberry Pi is connected to the internet.
- Device not responding: Double-check your wiring and make sure everything is connected properly.
- Software errors: Make sure you're using the latest version of your software and check the documentation for troubleshooting tips.
Exploring Advanced Features
Now that you have the basics down, it's time to explore some advanced features. There are tons of ways to enhance your Raspberry Pi remote IO setup and take your projects to the next level. Here are a few ideas to get you started:
Adding Voice Control
Imagine being able to control your Raspberry Pi projects with just your voice. With tools like Google Assistant or Amazon Alexa, this is now possible. You can set up voice commands to control your devices and automate tasks, making your projects even more interactive.
Creating a Web Dashboard
A web dashboard is a great way to monitor and control your Raspberry Pi projects from anywhere in the world. You can create a simple web interface using HTML, CSS, and JavaScript, or use a pre-built solution like Node-RED. Either way, having a dashboard will make managing your projects a breeze.
Resources and References
Finally, let's talk about some resources and references to help you on your Raspberry Pi journey. There are tons of amazing resources available online, from forums and blogs to YouTube channels and podcasts. Here are a few of my personal favorites:
- Raspberry Pi official website
- Raspberry Pi forums
- YouTube channels like The Raspberry Pi Guy and TechWithTim
- Blogs like Adafruit and Pimoroni
Conclusion
And there you have it, folks! A comprehensive guide to setting up Raspberry Pi remote IO for free. By following the steps outlined in this article, you should now have a solid understanding of how to get started with Raspberry Pi remote IO and take your projects to the next level. Remember, the possibilities are endless, so don't be afraid to experiment and try new things.
Before I let you go, I want to leave you with a call to action. If you found this guide helpful, please leave a comment below and let me know what you think. Also, don't forget to share this article with your friends and fellow tech enthusiasts. And if you're looking for more awesome Raspberry Pi content, be sure to check out our other articles on the site. Happy building, and see you in the next one!
Table of Contents
- What Exactly is Raspberry Pi Remote IO?
- Why Go for Free Setup?
- Understanding the Basics of Raspberry Pi
- Setting Up Your Raspberry Pi for Remote IO
- Choosing the Right Tools and Software
- Connecting Devices to Your Raspberry Pi
- Securing Your Raspberry Pi Remote IO Setup
- Testing and Troubleshooting
- Exploring Advanced Features
- Resources and References